


I never thought I’d dive into skin-making for CS2. It always seemed like a craft reserved for professional artists or those with a deep knowledge of 3D modeling. But once I gave it a shot, I realized it’s not as intimidating as it seems.
If you’ve ever wanted to see your own design in-game — or even turn it into a source of income — you’re in the right place. Let’s break down the process step by step.
Gather the Right Tools
Before you start designing, you’ll need the right software. Here’s what I use:
CS2 Workbench – Valve’s official tool for testing skins, accessible via the developer console.
Photoshop or GIMP – Essential for creating textures. Photoshop is industry-standard, but GIMP is a free alternative.
VTFEdit – Converts images into CS2’s .vtf file format.
Blender (Optional) – A 3D modeling tool that helps visualize your skin before testing in-game.
Installing these is the easy part. The real challenge begins when you start designing.
Pick a Weapon & Download the Template
Not every design works well on every weapon. Some, like the AK-47, provide a large canvas for intricate designs, while others have limited space to showcase details.
Once you’ve picked a weapon, download its UV map from Valve’s official resources or community sites. This is a 2D blueprint that shows where your design will be applied on the 3D model.
Design the Texture
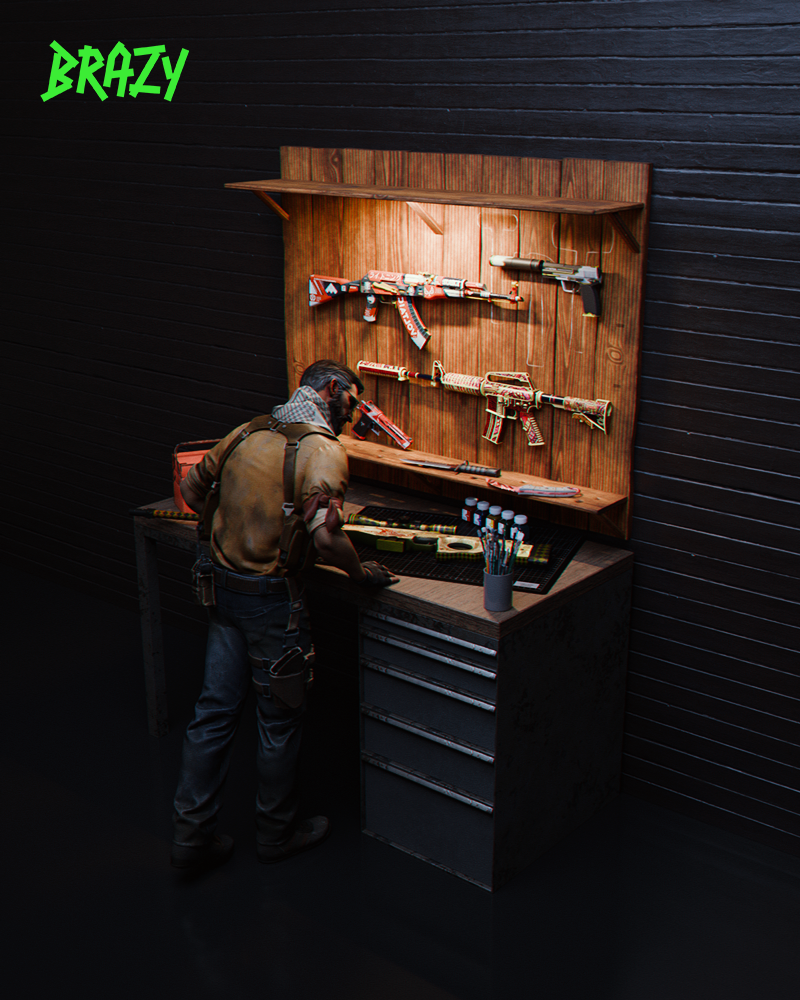
Here’s where the magic happens. I remember my first skin — I thought it looked perfect in Photoshop, but once in-game, parts were stretched or misaligned.
A few key tips to avoid common mistakes:
Keep details bold and clear – Small details can blur at lower resolutions. Watch out for mirroring – Some weapons mirror textures, meaning a design that looks great on the left side might be distorted on the right. Use layers – If you’re using Photoshop, layers help separate elements for easy adjustments. Try patterns – CS2 supports pattern-based skins that randomly tile across the weapon, creating unique variations.
Once your texture is complete, save it as a TGA or PNG file.
Import & Test in CS2 Workbench
Now for the exciting part — seeing your skin in-game.
Open CS2 and enable the developer console.
Type workshop_workbench and press Enter to launch the Workbench tool.
Select the weapon you created the skin for.
Click “Import Texture” and upload your TGA/PNG file.
Adjust the wear values – This controls how the skin looks when factory new versus battle-scarred.
Rotate and inspect your skin to check for alignment issues.
At this stage, I often notice small imperfections. If something looks off, tweak the texture and re-import it until it looks just right.
Submit to the Steam Workshop
If you’re happy with your skin, why not share it with the world? Submitting it to the Steam Workshop allows the CS2 community to vote on it — and if it gains traction, Valve might even add it to the game!
In Workbench, click “Save” and package your skin.
Open CS2’s Workshop submission tool.
Fill in details like name, description, and showcase images.
Upload and wait for feedback from the community.
Top-tier skins receive thousands of votes and can even make their way into official weapon cases — potentially earning creators significant revenue.
Final Thoughts
Creating CS2 skins isn’t just about making something cool — it’s a learning experience. You don’t need to be a professional artist to create something unique. Who knows? Your next design might be the one everyone wants in their inventory.
Good luck, and happy skin-making!